Setting up Burp Suite
A small tutorial on how to set up and configure Burp Suite Community Edition a proxy tool.

What is Burp Suite?
Given that we are ready to launch our own instance of security shepherd by OWASP as our practice range, we deemed it necessary to do a small introduction to proxies, what they are, and how to set them up. While the process might be slightly different for different applications, this time we will focus on Burp Suite.
Burp or Burp Suite is a set of tools used for penetration testing of web applications. It is developed by the company named Portswigger, which is also the alias of its founder Dafydd Stuttard. BurpSuite aims to be an all in one set of tools and its capabilities can be enhanced by installing add-ons that are called BApps.
Burp is a paid application but they hae a community edition which doesnt have options like Spider, web spider/crawler that is used to map the target web application, or Scanner, which scans the website automatically for many common vulnerabilities and lists them with information on confidence over each finding and their complexity of exploitation. Another limitation of the community edition is that you cant save your projects, you only have temporary files swhich will be deeleted when you exit so be mindful of that too.
The rest of the features aree mostly the same:
- Target
- Proxy
- Intruder
- Repeater
- Sequencer
- Decodeer
- Comparer
- Extender
You can download Burp Suite here.
It is also worth noting that PortSwigger, the company that develops Burp, also has great tutorials and documentation on how to use Burp on many different kinds of situations and applications so check them out too: https://portswigger.net/web-security.
What is a Proxy Server?
A proxy server is basically a middle point between you and the internet. It separates you as the user from websites and they several levels of functionality like security and privacy settings depending on the use case and needs oyu have.
When you use a proxy server, internet traffic flows through the proxy server on its way to the address you requested. The request then comes back through that same proxy server (there are exceptions to this rule), and then the proxy server forwards the data received from the website to you.
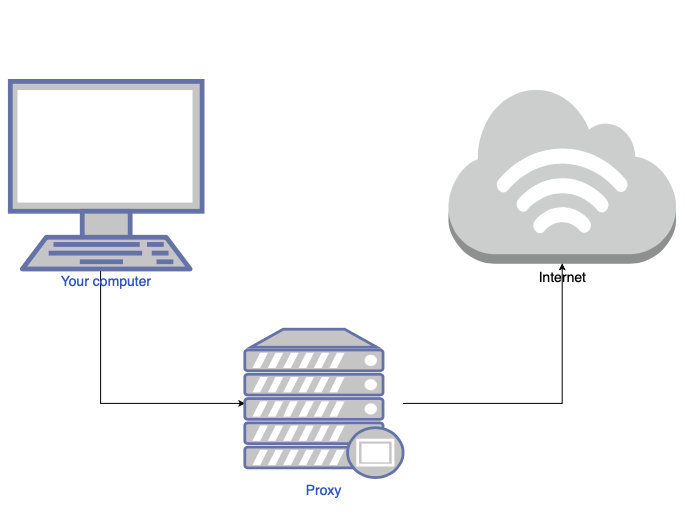
If that’s all it does, why bother with a proxy server? Why not just go straight from to the website and back?
Modern proxy servers do much more than forwarding web requests, all in the name of data security and network performance. Proxy servers act as a firewall and web filter, provide shared network connections, and cache data to speed up common requests. A good proxy server keeps users and the internal network protected from the wild internet. This time, we will use a proxy to change http requests and some times repeat them with different data and more.
Installing Burp Suite
If you havent done it yet, you can download Burp Suite here.
The most recent versions of Brup innclude an instance of Chromium browser so there is no extra setting up needed, just go to the proxy tab and click onn the open browser button to launch Chromium and it will be ready to intercept.
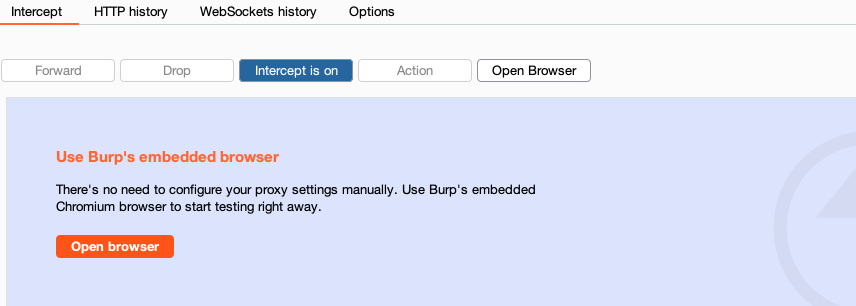
We will show you how to use it with your own broser too. PortSwigger’s official weebsite has a lot of information on how to set it up onn many different browsers but this time we will use Firefox. You can read the official documentation here for more browsers.
First we will need to download Firefox. You can go to the downloads page here.
Next we need to teell the browser where eto send the traffic to. For this, we can set it up in settings, or better yet, download an proxy switcher extension called FoxyProxy that will allow us to send traffic to the proxy with a button like this:
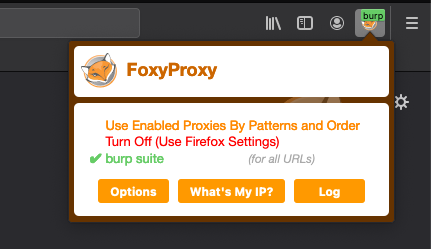
A proxy switcher is a tool, usually in the form of a browser add-on, that allows one to turn a proxy on and off or cycle between multiple proxies with the click of a button. It saves loads of time as it usually takes many clicks to enable or disable a proxy.
This is a direct link to FoxyProxy
You will need to download the extension adding it to Firefox like this:
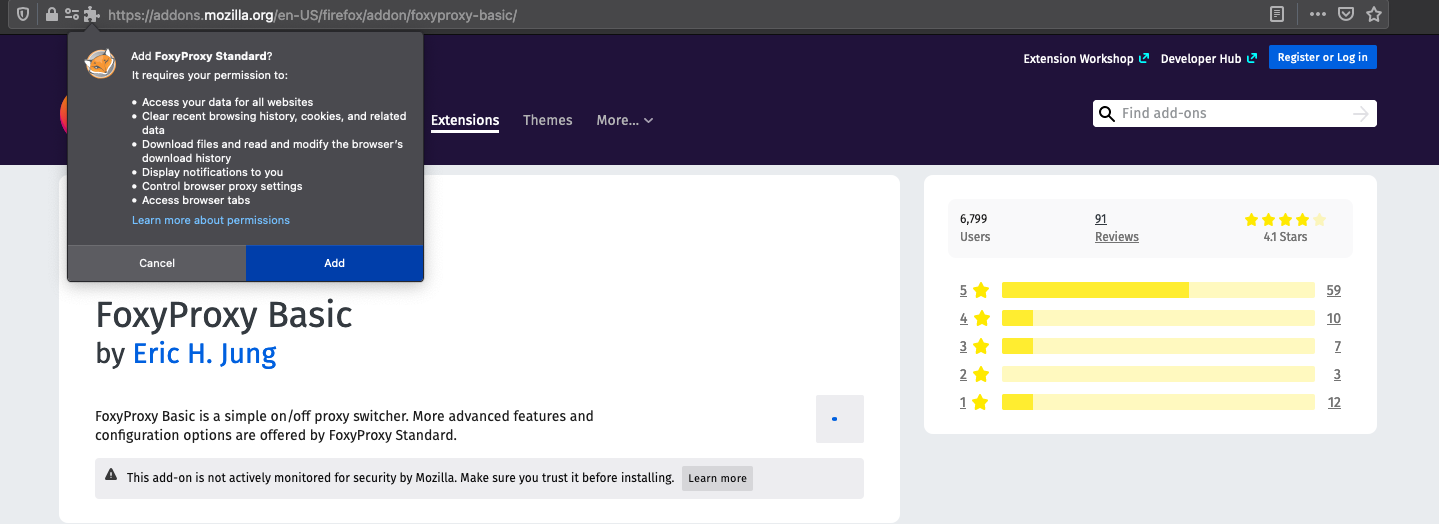
You will need to acceept and give it the permissions it requires:
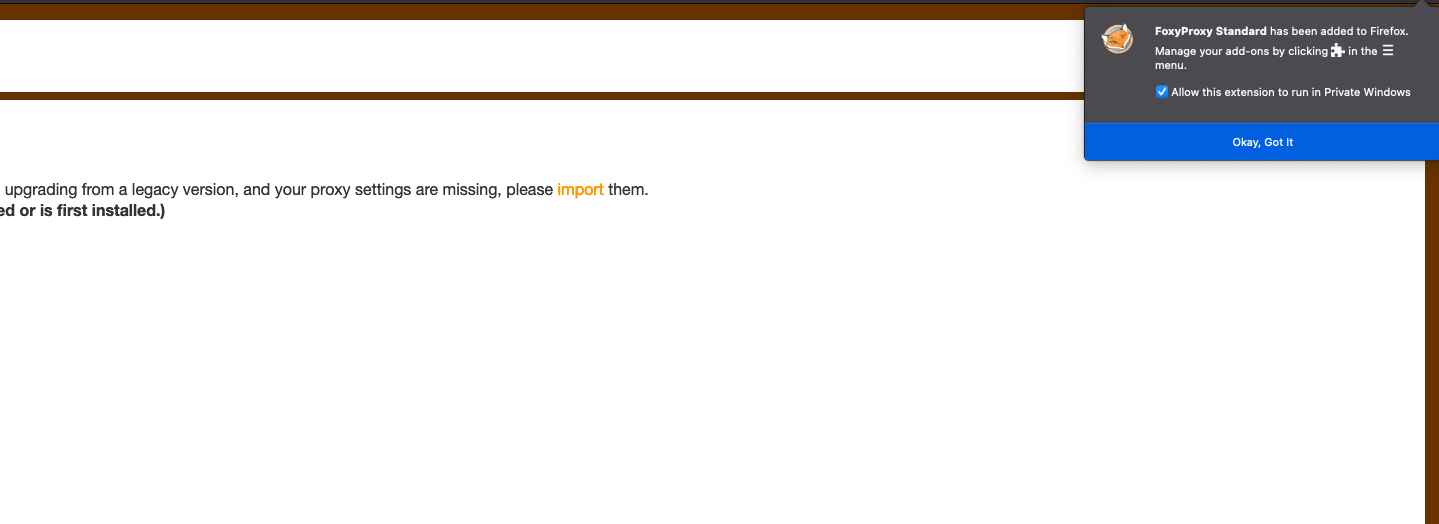
Next, you can click on the new extension icon and clikc on options. Here we will add the proxy information:

Now we need to open Burp and go to the Proxy tab. Under Proxy there are several options, we need to go to Options to view the current listeners (ip and port) Burp will use.

We can see the it is set to the default 127.0.0.1:8080. We need to give this innformation to Firefox and Foxyproxy now. Under ADD, we seee the form to enter the same innformation as in Burp:

Title is optional, we only care about the IP address and the port being used.
If we try to test it now, since we aree routing traffic to a new possibly untrusted entity, Firefow will warn us that the website we are trying to reach might be fake, so we need to tell Firefox to trust Burp. To do this we need to import Burp’s CA (certificate authority) certificate into Firefox. To Do this we need to navidate to 127.0.0.1:8080 and we will see at the top right, an option to download Burp’s CA certificate. We Need to save it:

Next, we need to import the certificate into Firefox. For this, we need to go to Preferences. You can select preferences from the toolbar or type: about:preferences and scroll down to: Privacy & Security.

We need to scroll down to the Certificates section and click on view certificates.
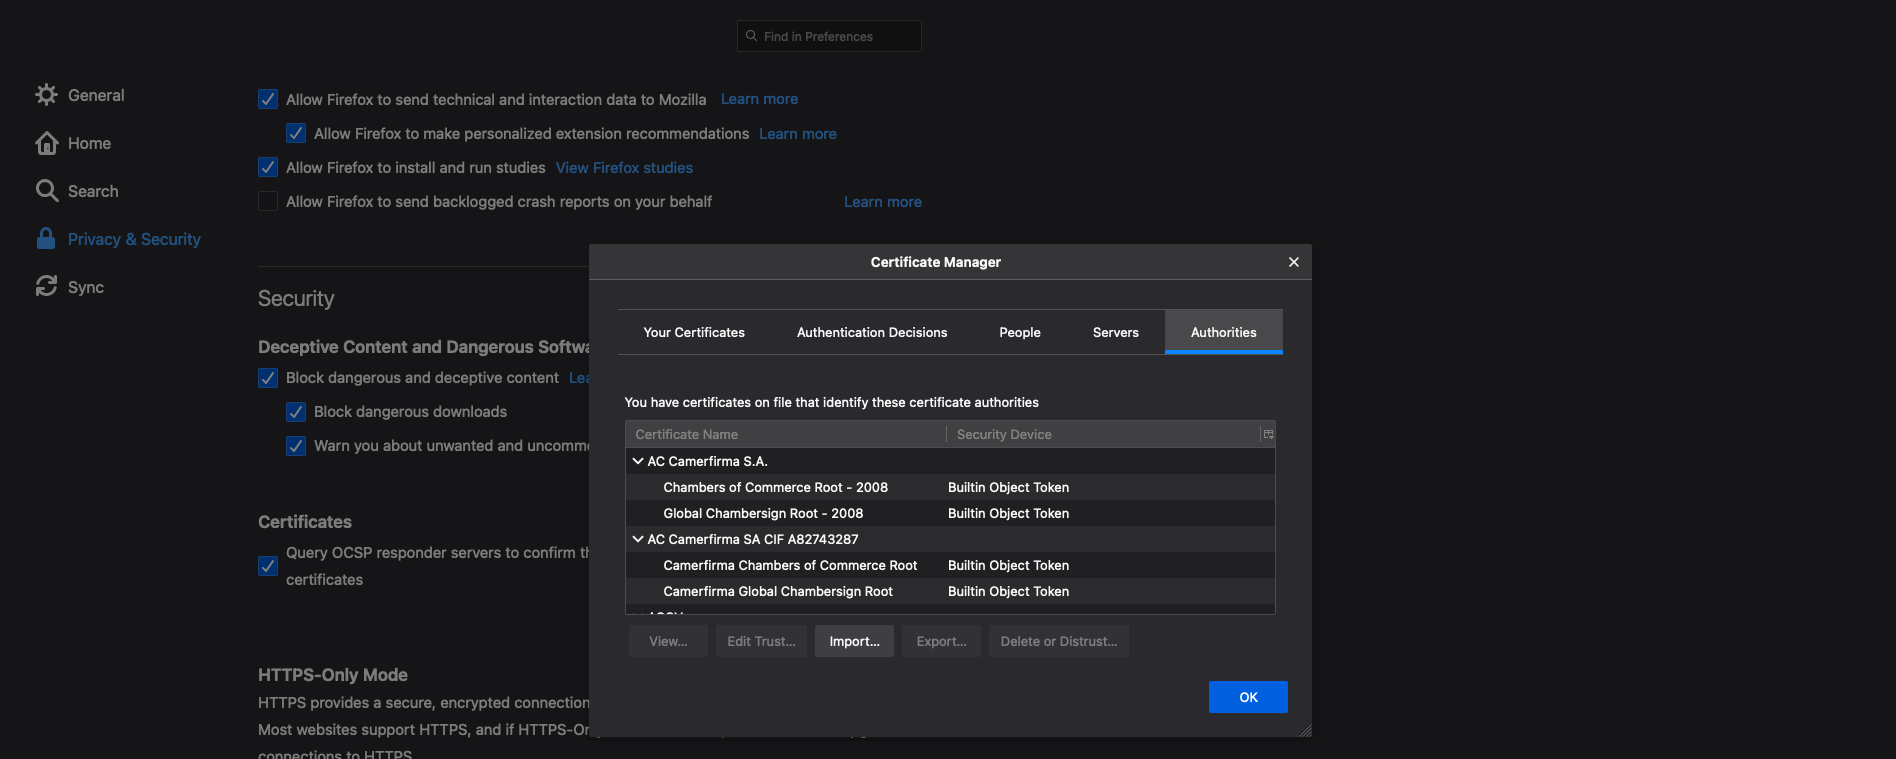
Click on Import… and select the cacert.cer we downloded previously.
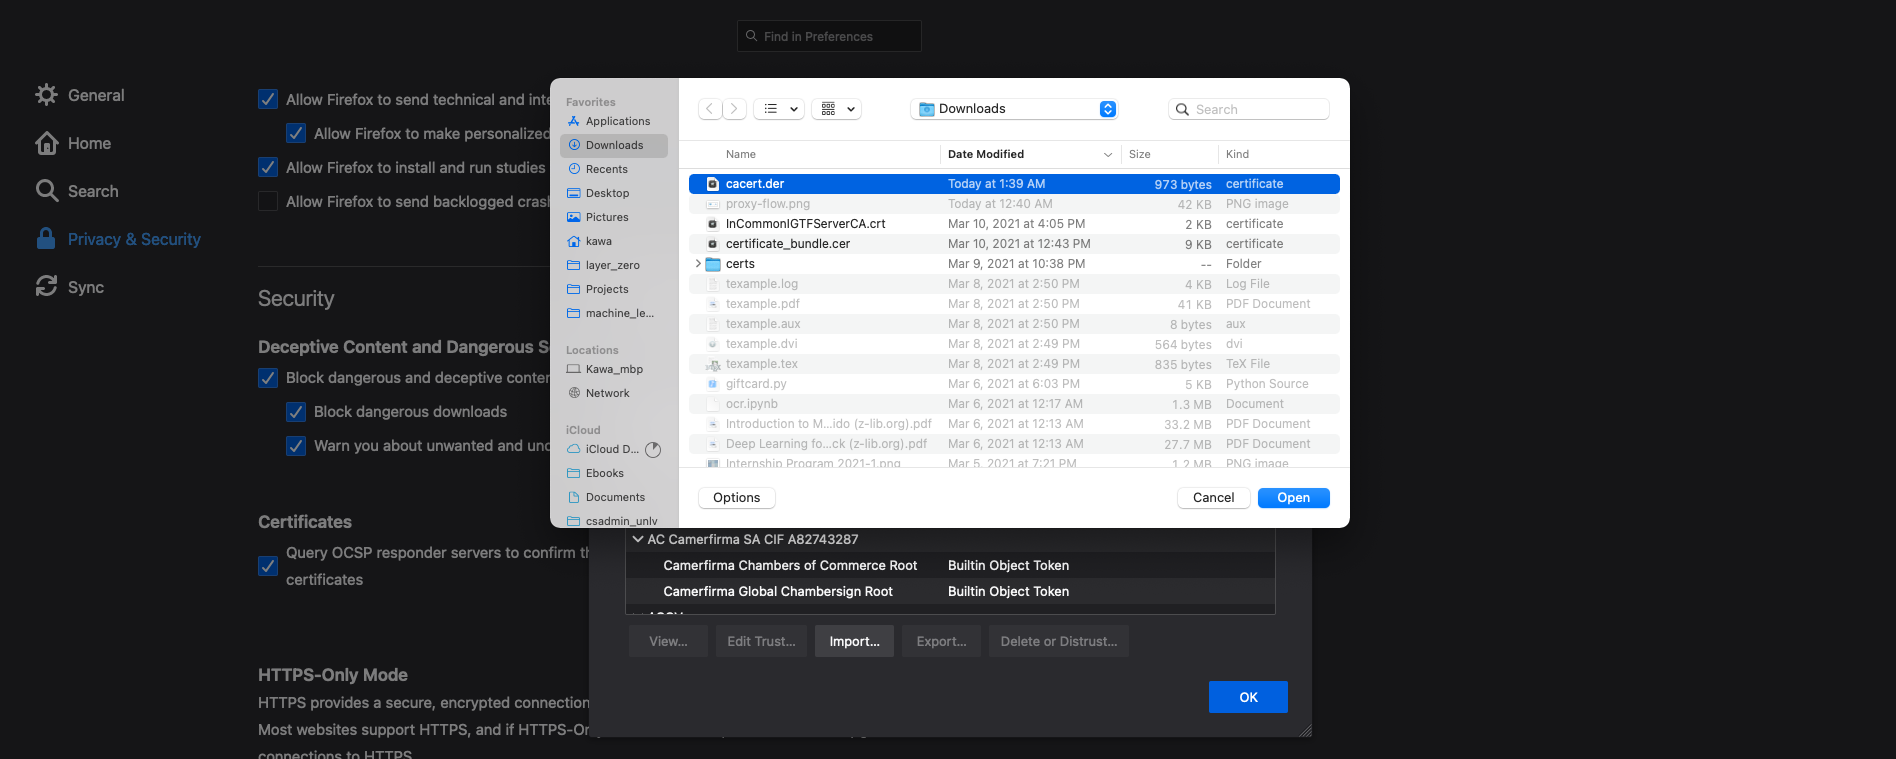
Accept and trust the CA

And that is it. You trusted Burp to handle your traffic from firefox.
It is important to remember that Firefox will send the traffic through Burp when the button on the extension is ON, so your traffic will get stuck if you forget to turn it off. Also to start filtering traffic, remember to click on Burp’s Proxy, then Intercept is on button so you start seeing the requests.
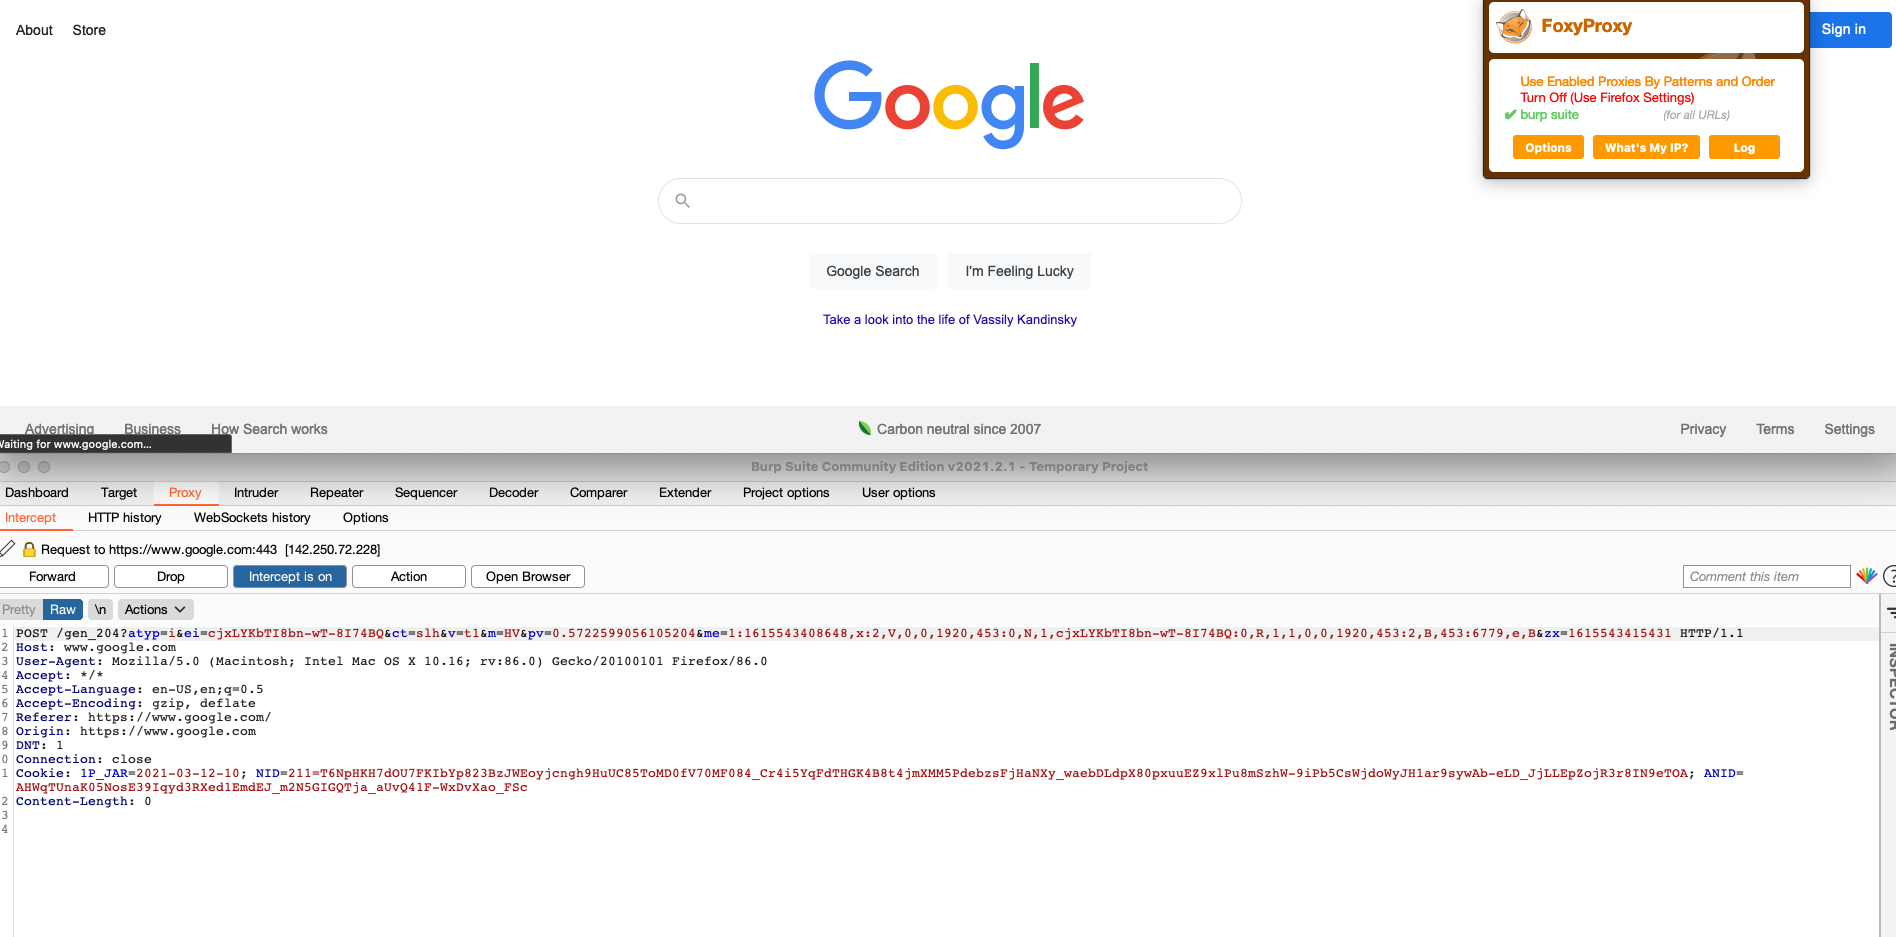
If you use another browser, you can read the official documentation here on how to set it up, but the steps are going to be fairly smiliar, involving pointing your browser to whateever IP and Port Burp is expecting and trusting a certificate so traffic flows freely.
We will be posting more tutorials and writeups on how to solve security shepherd challenges so stay tunned.
Posted by Jorge G